I wanted something a little bit different for decor for avery's actual bday and maybe something I could take with us and save for later. I love the pom pom balls, I just feel like I have made them over and over. Then I saw on you are my fave that they threw her a shower and used these from the bhldn website and I was in love. I googled "paper wheels" and found this great tutorial at ruffled blog (her colors are so cool!) .I don't even know what they are called but I think they are so pretty! I had to go with a pink theme for aves (no other color is even allowed within a mile radius, I think) so it isn't my favorite color scheme, but I like how they turned out.
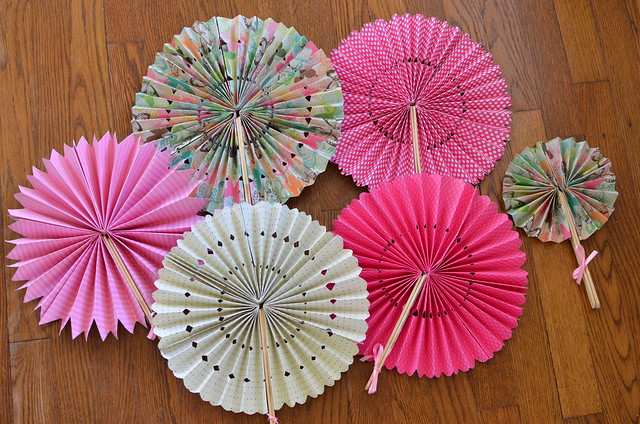

And they are so easy!
I know I just linked a tutorial, but I thought since they were so easy I would just do one over here, too.
First, you accordion style fold your craft paper.
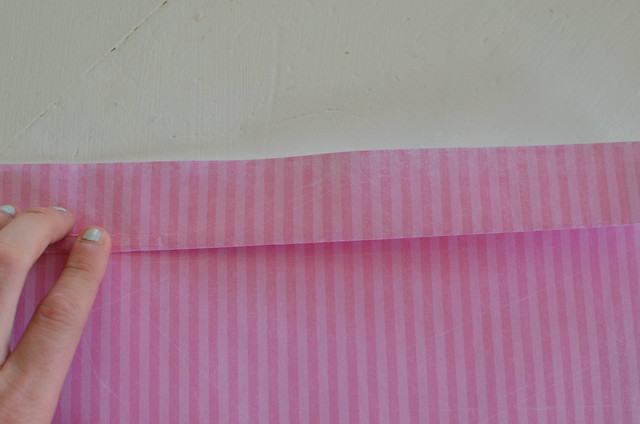
Then fold it in half.
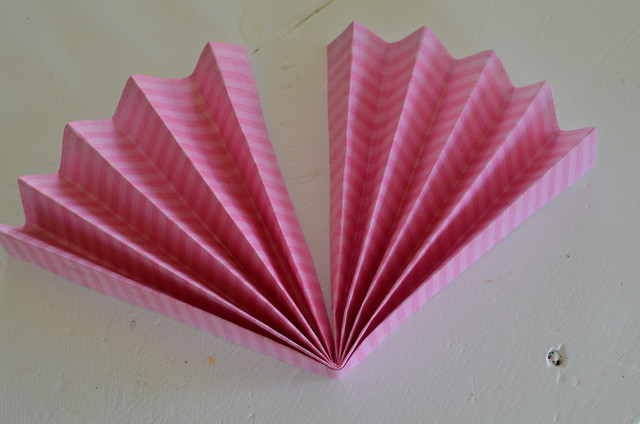
(I know, rocket science)
I did three of them per wheel. or fan. or whatever they are called.
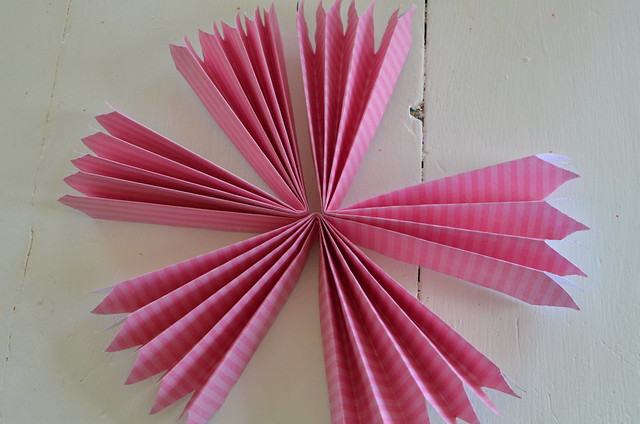
Then glue all the middles together.
I used my old rusty hot glue gun but I bet you could use any type of glue. or allison said stapler, too.
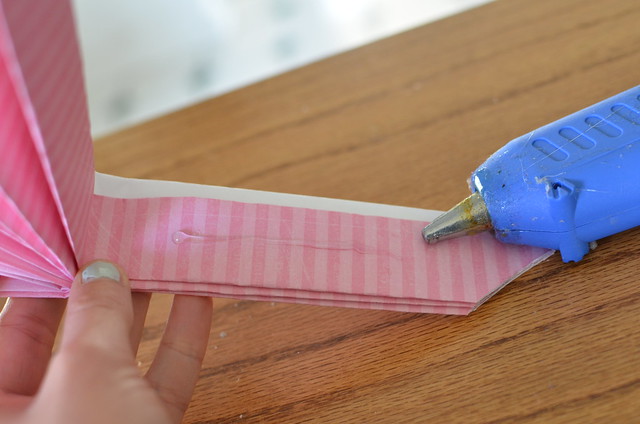
squeeze it together while it dries.
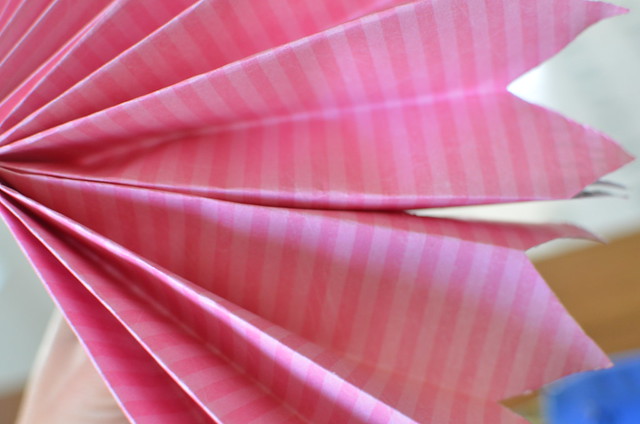
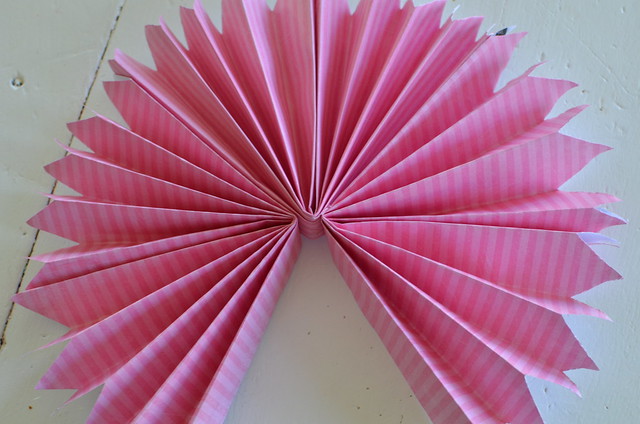
Glue the two of the sheets of paper together and leave an opening for the popsicle sticks.
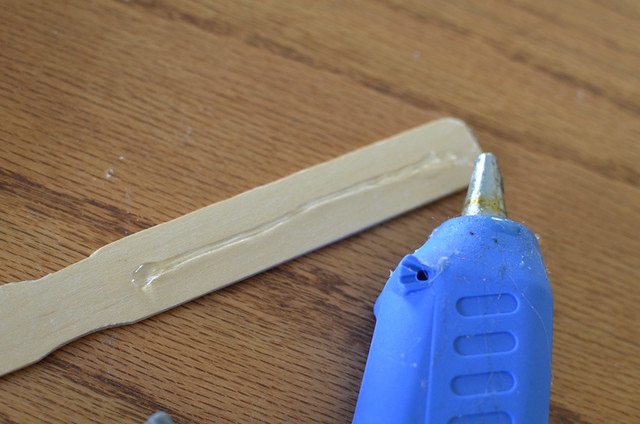
Then, glue your popsicle sticks to the paper.
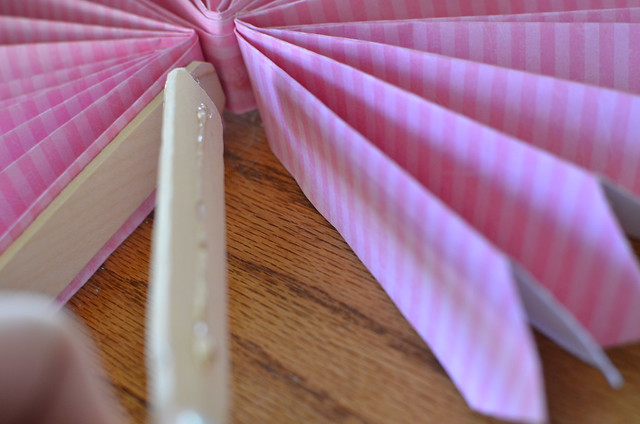
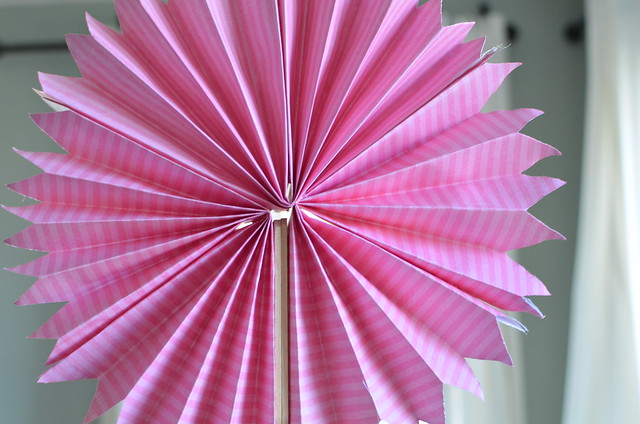
and you're done!
This was my first and not my best. Its kind of uneven in the center.
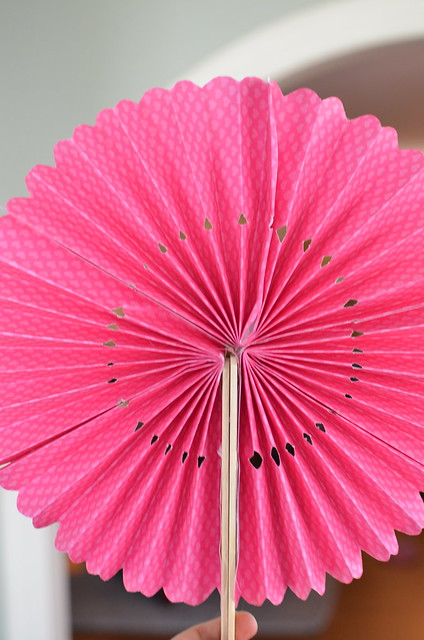
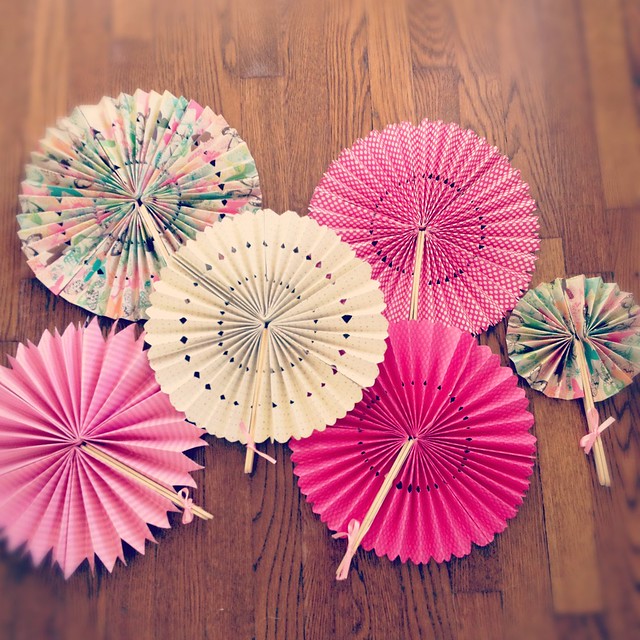
I scalloped some of the edges and added holes in the middle.
(that one has a glue clump. watch out for those if you use a hot glue gun)

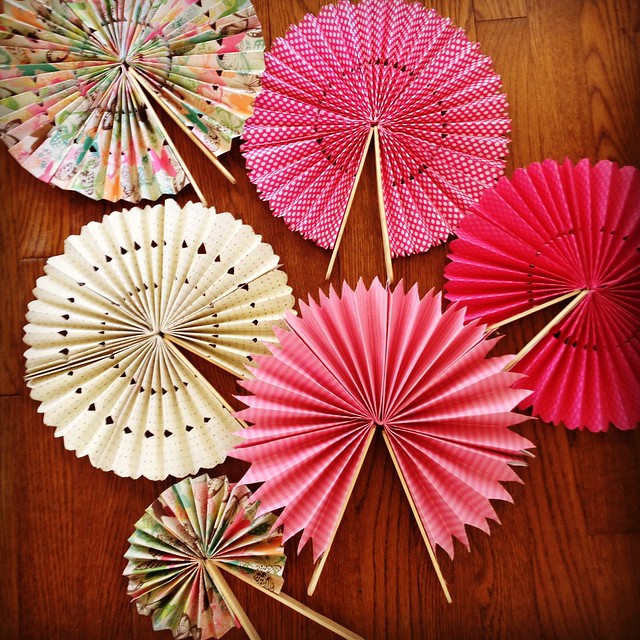
I just tied them together at the bottom but I only had ribbon and I think twine would be better. And putting a hole in the bottom of the sticks is the best idea. I was just lazy and didn't do it.

Clearly the pink ribbon is too precious, so when I hung them up I just taped the back of the sticks together.
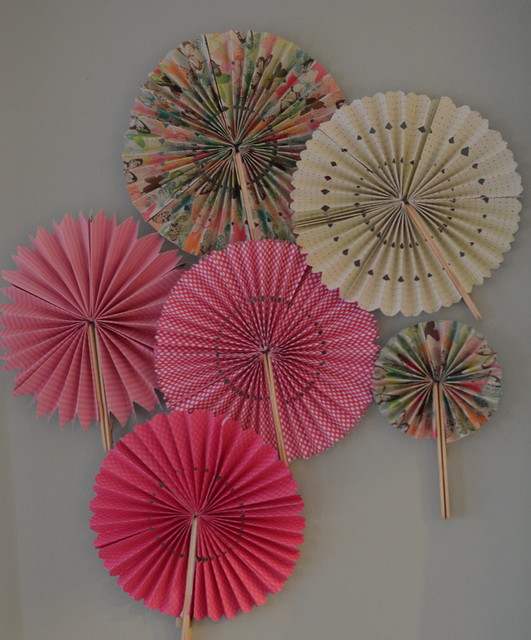
Hooray for pinwheel fans or whatever they are! I think they helped spice up the kitchen for averys big day (all 6 of them :).
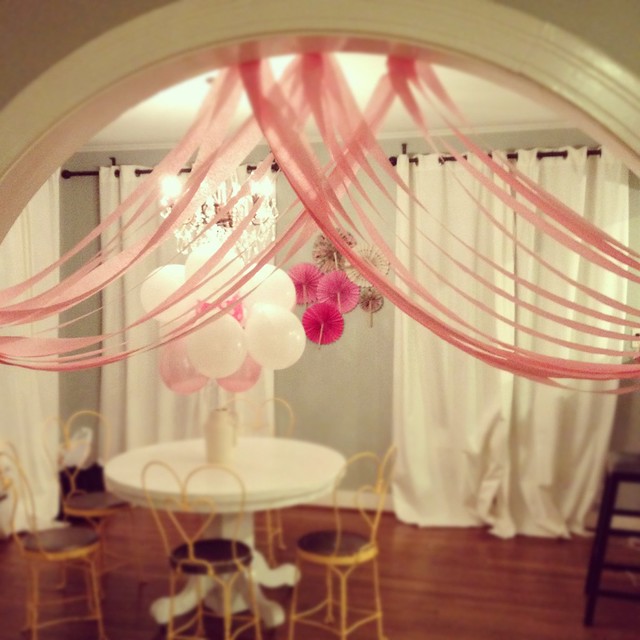
She has more stuff coming up this weekend that sassy and jeff have helped me throw together so we will let you know how that goes!
I know I just linked a tutorial, but I thought since they were so easy I would just do one over here, too.
First, you accordion style fold your craft paper.

Then fold it in half.

(I know, rocket science)
I did three of them per wheel. or fan. or whatever they are called.

Then glue all the middles together.
I used my old rusty hot glue gun but I bet you could use any type of glue. or allison said stapler, too.

squeeze it together while it dries.

Glue the two of the sheets of paper together and leave an opening for the popsicle sticks.

Then, glue your popsicle sticks to the paper.


and you're done!
This was my first and not my best. Its kind of uneven in the center.

I scalloped some of the edges and added holes in the middle.
(that one has a glue clump. watch out for those if you use a hot glue gun)


I just tied them together at the bottom but I only had ribbon and I think twine would be better. And putting a hole in the bottom of the sticks is the best idea. I was just lazy and didn't do it.

Clearly the pink ribbon is too precious, so when I hung them up I just taped the back of the sticks together.

Hooray for pinwheel fans or whatever they are! I think they helped spice up the kitchen for averys big day (all 6 of them :).

She has more stuff coming up this weekend that sassy and jeff have helped me throw together so we will let you know how that goes!

13 comments:
love this idea! thanks for sharing...and happy 6 to Aves!
I love them Kristen!!! And your tutorial!! They were the perfect touch for Avery's birthday!! She is such a sweet six!! And the girls loved getting to party & dress up with her!!
I'm so excited for her(and the fam) for her birthday weekend!!! Sounds so fun!!
Kristen! I am so glad you did this! I made these last year and did not look up how to do it and they turned out awful! I am going to share a link to your tutorial on my blog!
AND I love the papers you chose! Are they just scrapbook paper?
P.S. I just can't believe Aves is 6! :( She wouldn't even remember us if we saw her now.
I blogged about this! http://www.eventsbyshelbirene.com/2012/02/paper-wheels-tutorial.html
Thanks for the sharing this. I am in the market for this very thing. Thanks for making my life easier!
You did A beautiful job of decorating - It truly is fit for a princess. Congrats to the Birthday Girl. Blessings
What size paper did you use?
Hello,
Came across this on Pinterest. Can you tell me where you found your paper?? And what size you used? Love them! Thanks!
I just found paper at michaels and hobby lobby! I used the big square pieces, I think. I am not completely positive, but I kind of remember the options being cuter in the squares. Thank y'all so much for pinning and using this tutorial!
Me gusto tu tutorial!!
We run a community that promotes massage and leaves reviews, so why don't you come in and take a look? amouranth onlyfans
Post a Comment